


You downloaded Microsoft's Windows 11 Installation Assistant, double-clicked it full of hope — and nothing happened. Or it started, then died with a cryptic error. If you're facing the dreaded "Windows 11 Installation Assistant not working" problem, you're not alone: it's one of the most common upgrade headaches out there.
The good news? It's almost always fixable in under 30 minutes. Below are 9 fixes that actually work, ordered quickest-first. This guide covers every scenario: the assistant won't launch, the Windows 11 Installation Assistant stuck mid-download, errors like 0x8007007f, and upgrades that fail at the final step.
Why Is the Windows 11 Installation Assistant Not Working?
Quick diagnosis first — it usually fails for one of these reasons:
- Missing administrator permissions — the #1 cause, and the usual trigger behind error
0x8007007f - Not enough free disk space — the assistant needs at least 9 GB just to download Windows 11
- Your PC doesn't meet Windows 11's requirements (TPM 2.0, Secure Boot, supported CPU)
- Outdated Windows 10 — the assistant requires Windows 10, version 2004 or newer
- Third-party antivirus or a VPN interfering with the download
- Corrupted system files or a failing hard drive
A Windows 11 Installation Assistant not working error almost always traces back to one of these — spot your culprit and jump to the matching fix, or start at Fix 1 and work down.
Fix 1: Restart Your PC (The 30-Second Fix)
A huge number of "assistant won't start" cases are just a hung background process from a previous failed attempt. A full restart clears it.
- Save your work and close all programs
- Click Start → Power → Restart (Restart, not Shut down — it fully reloads Windows)
- Run
Windows11InstallationAssistant.exeagain
If it launches cleanly now, a stuck process was the culprit.
Fix 2: Run the Installation Assistant as Administrator
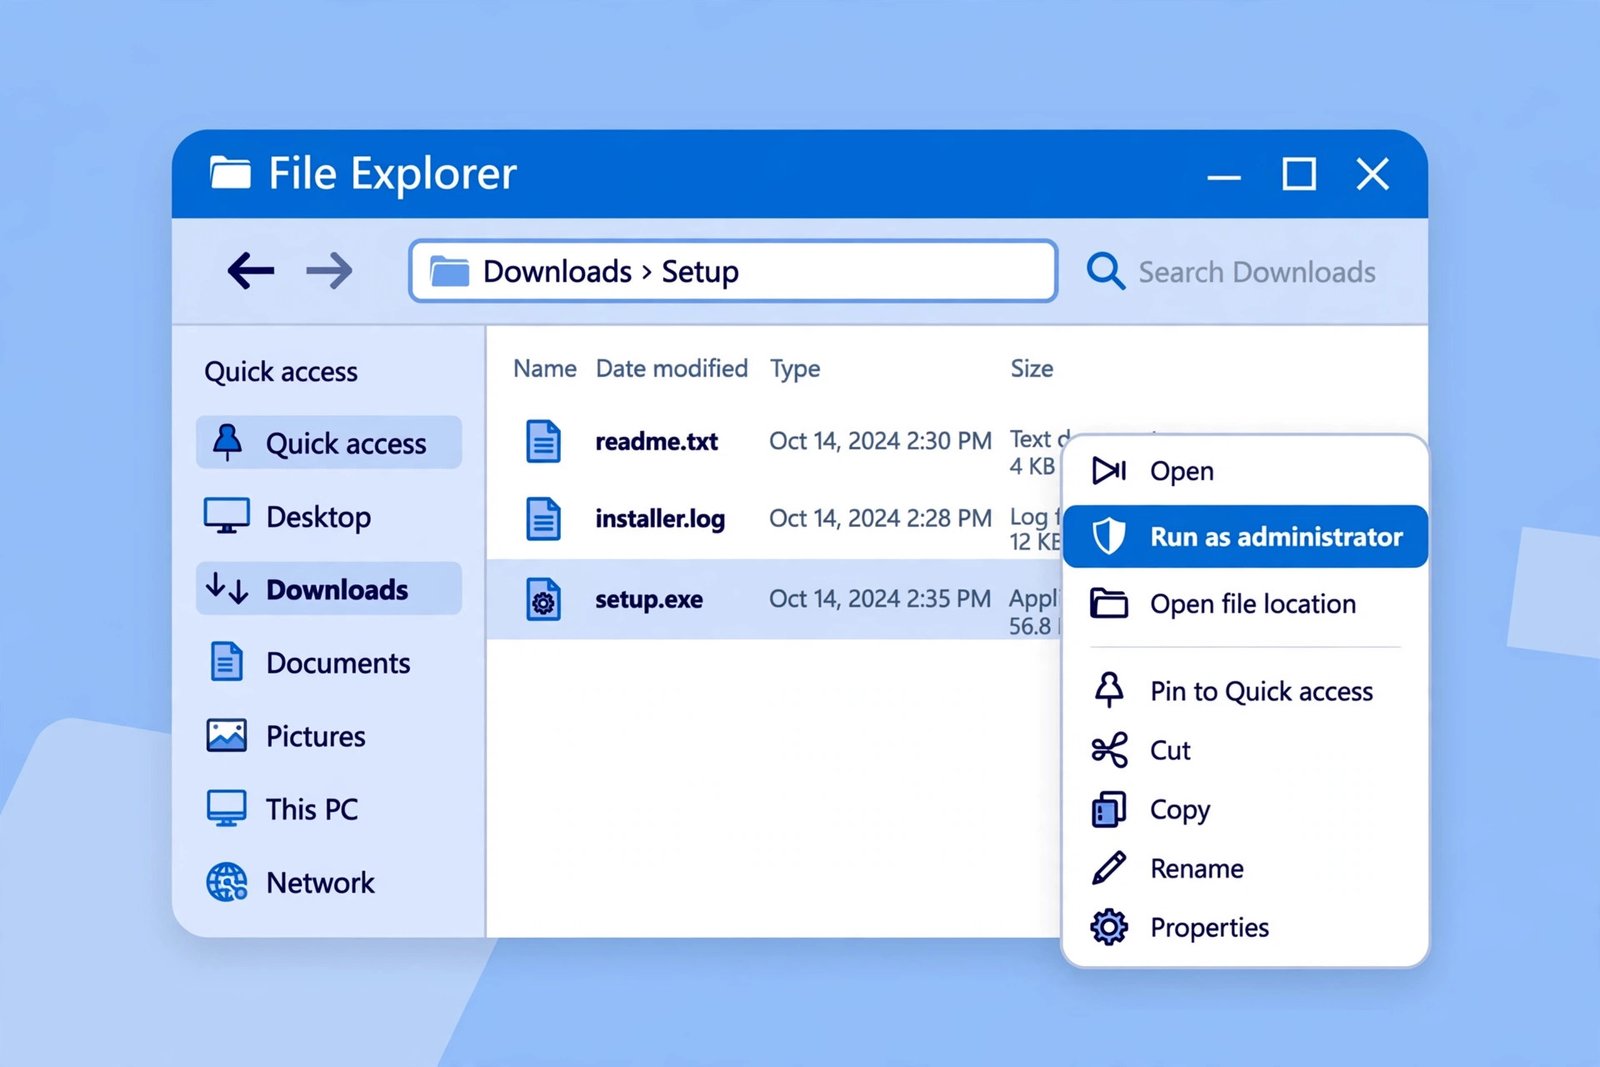
This is the single most effective fix — especially for error code 0x8007007f, which is almost always a permissions problem. The assistant needs elevated rights to modify system files.
- Open Downloads and find
Windows11InstallationAssistant.exe - Right-click it → Run as administrator
- Click Yes on the User Account Control prompt, then follow the on-screen steps
Still failing? Make sure UAC isn't fully disabled: press Win + S, type "Change User Account Control settings," and set the slider to at least the second-highest level.
Fix 3: Check That Your PC Meets Windows 11's Requirements
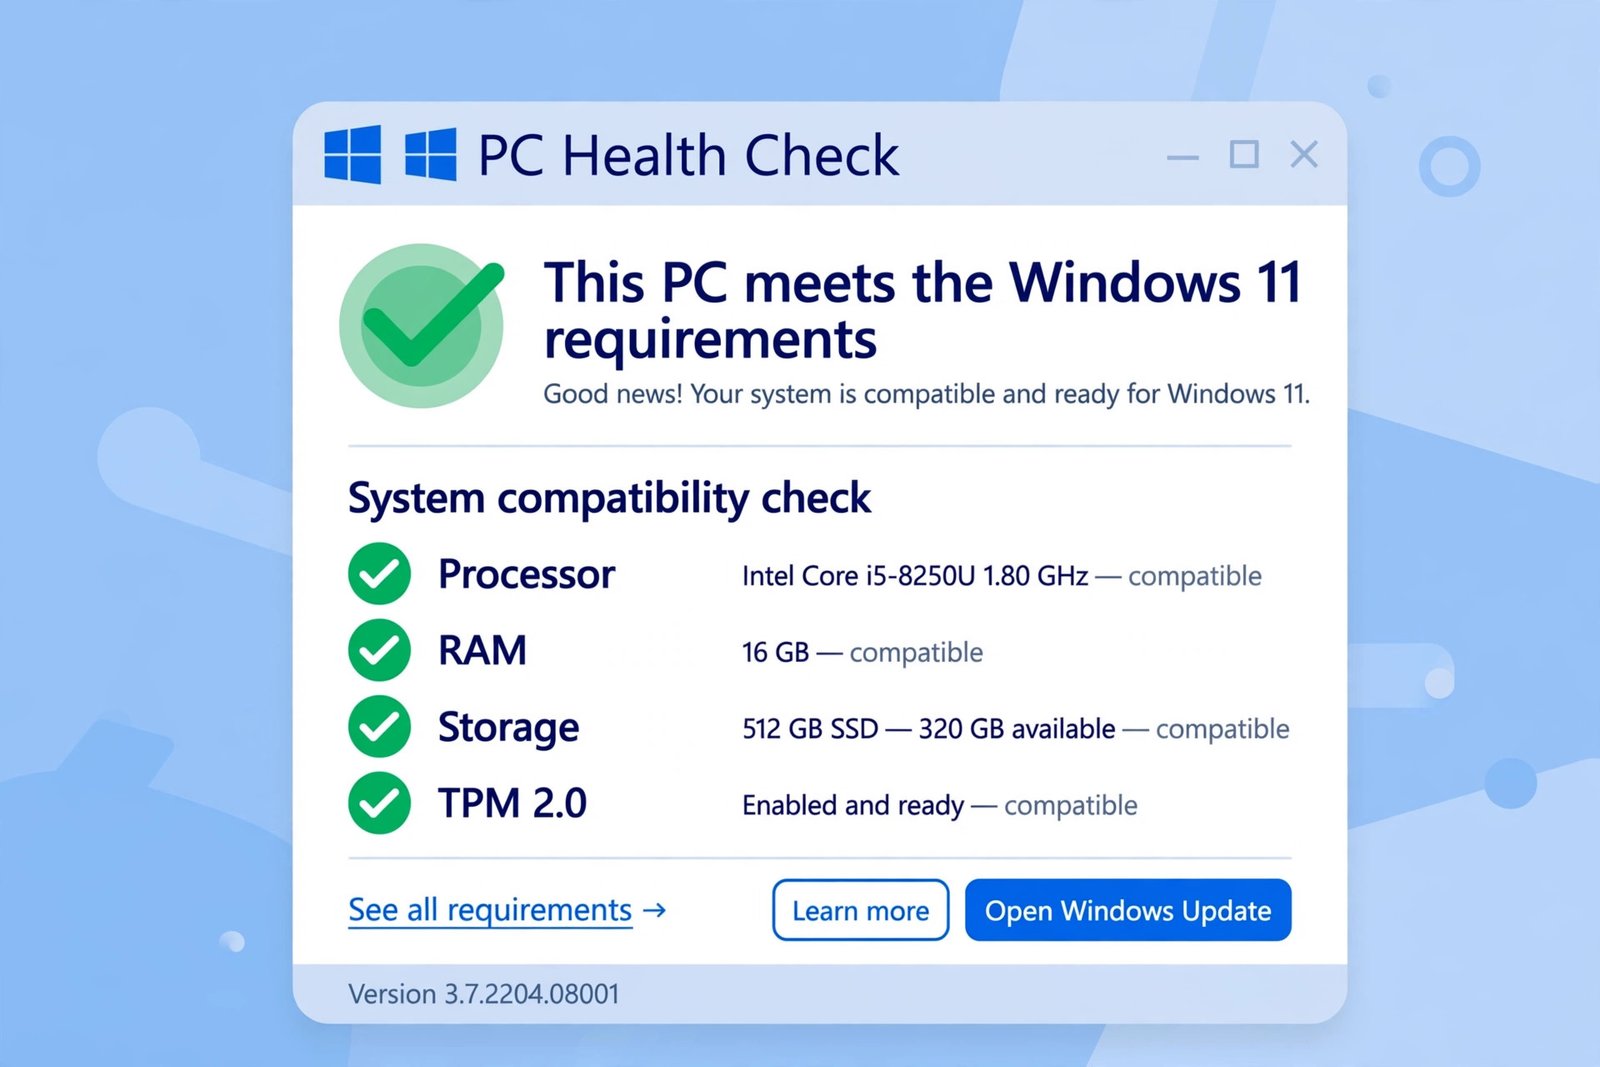
The assistant silently refuses to work on ineligible hardware. Microsoft's free PC Health Check app confirms in seconds.
- Download the PC Health Check app from Microsoft and install it
- Open it and click Check now
- Confirm you have TPM 2.0, Secure Boot enabled, a supported CPU, 4 GB RAM, and 64 GB storage
Also update your graphics drivers — outdated GPU drivers are a known trigger: press Win + X → Device Manager → Display adapters, right-click your GPU → Update driver.
Once your PC passes the requirements check, you may also want to verify whether it qualifies as a Copilot+ PC to unlock Windows 11's built-in AI features.
Fix 4: Free Up Disk Space (You Need 9 GB+)
The assistant downloads the full Windows 11 image first — Microsoft requires at least 9 GB free, and 20 GB+ gives comfortable headroom.
- Go to Settings → System → Storage → Temporary files, check everything (especially Windows Update Cleanup), and click Remove files
- For a deeper clean: press Win + R, type
cleanmgr, select C:, click Clean up system files - Empty the Recycle Bin
Low disk space causes a surprising share of mid-install failures — re-run the assistant with 20 GB+ free.
Fix 5: Temporarily Disable Your Antivirus and VPN
Third-party antivirus suites love blocking the assistant's download or quarantining its temp files mid-upgrade. VPNs cause the same by interrupting Microsoft's servers.
- Temporarily turn off your third-party antivirus's real-time protection (Windows Security can stay on)
- Disconnect any VPN: Settings → Network & internet → VPN
- Turn off any proxy under Settings → Network & internet → Proxy
- Re-run the assistant — and re-enable your antivirus after the upgrade finishes
Fix 6: Run the Windows Update Troubleshooter
If the assistant fails while downloading, the underlying Windows Update components may be broken. Windows 11 can repair them automatically.
- Go to Settings → System → Troubleshoot → Other troubleshooters
- Find Windows Update and click Run
- Apply the recommended fixes, then restart your PC
This clears corrupted update caches and stuck download services that sabotage the assistant.
Fix 7: Repair Corrupted System Files (SFC + DISM)
When the assistant still won't run with admin rights and free space, corrupted Windows system files are the next suspect.
- Press Win + S, type
cmd, right-click Command Prompt → Run as administrator - Type
sfc /scannow, press Enter, and wait for 100% - Then type
DISM /Online /Cleanup-Image /RestoreHealthand press Enter - Restart and try the assistant again
The scan takes 10–15 minutes and replaces damaged core files — the exact damage behind vague upgrade errors.
Fix 8: Check Your Hard Drive for Errors
A drive with bad sectors corrupts the downloaded Windows 11 files, making the assistant fail at the same point every time.
- Open Command Prompt as administrator
- Type
chkdsk C: /f /rand press Enter - Type
Yto schedule the check, then reboot and let it finish (30+ minutes on large drives)
Or use the GUI: File Explorer → right-click C: → Properties → Tools → Check.
Fix 9: Ditch the Assistant — Use the Media Creation Tool Instead
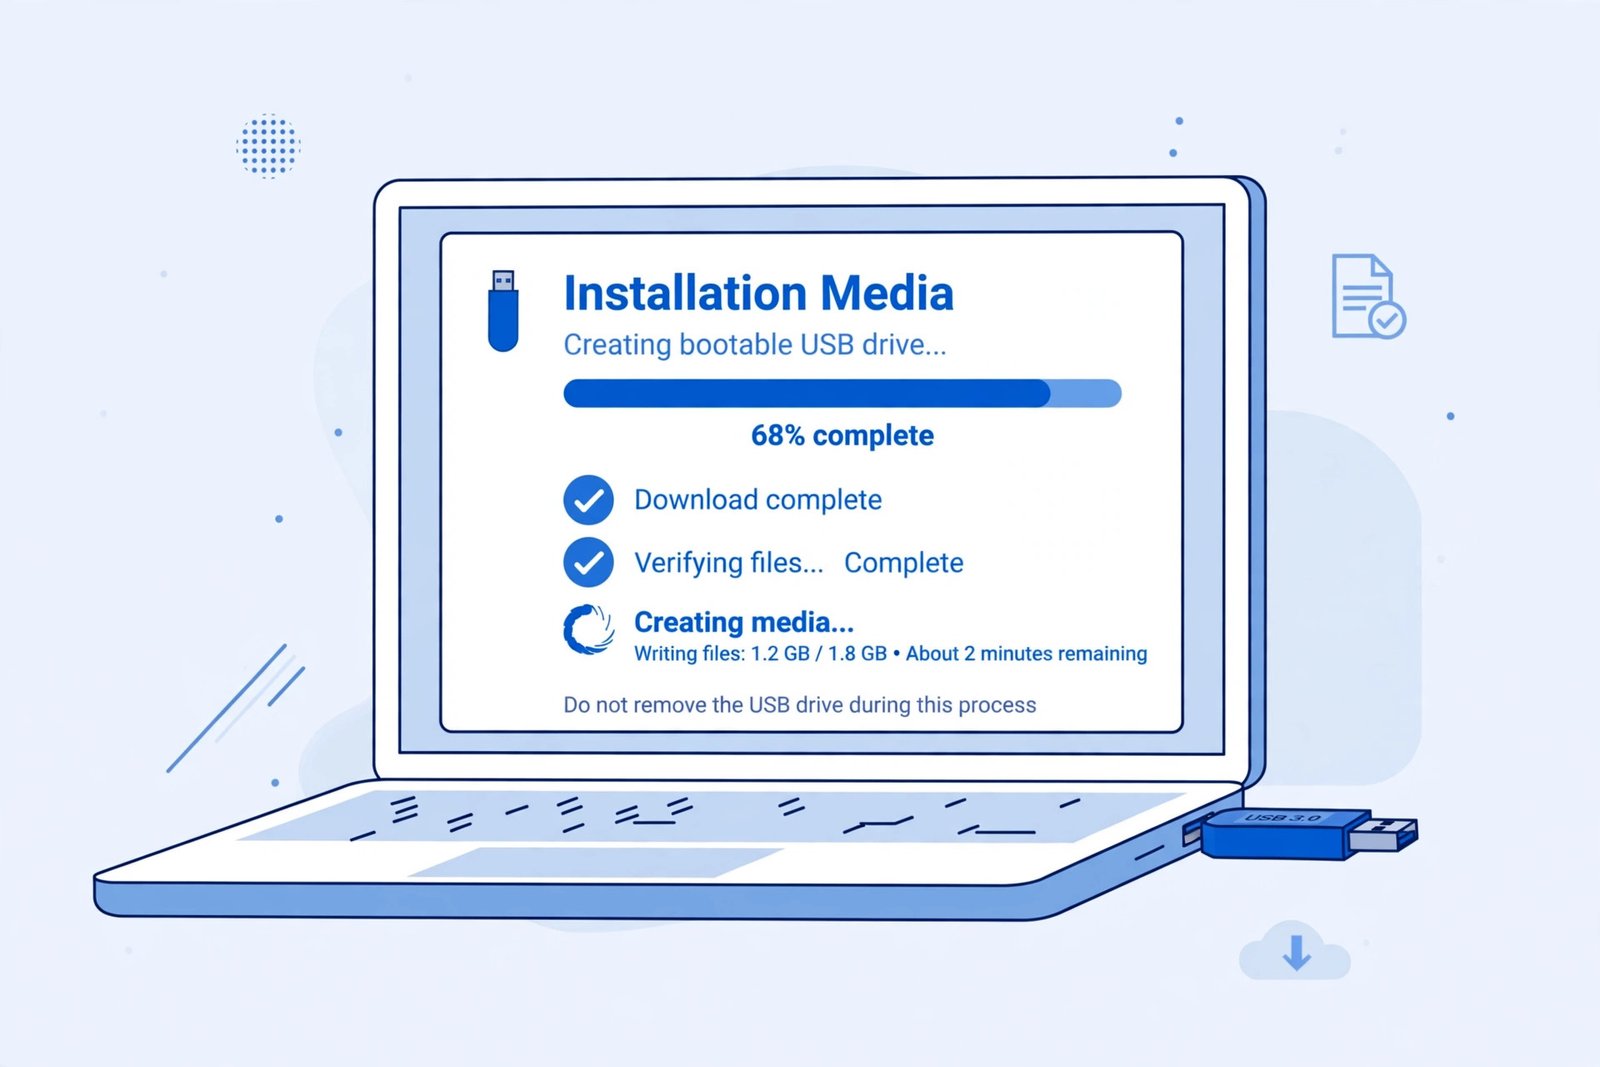
Tried everything and it still won't cooperate? Stop fighting it. Microsoft's Media Creation Tool does the same job through a more reliable path.
- Go to Microsoft's official Windows 11 download page
- Under "Create Windows 11 Installation Media," click Download now
- Run it and choose Upgrade this PC now, or create a bootable USB for a clean install
Power users can download the Windows 11 ISO from the same page, double-click it to mount in File Explorer, and run setup.exe — bypassing the assistant entirely.
Windows 11 Installation Assistant Not Working After All Fixes? Switch Tools
Quick decision guide:
- Stick with the Installation Assistant if it launches at all — simplest path, fewest clicks, keeps your files and apps.
- Switch to the Media Creation Tool if the assistant crashes on launch, repeats
0x8007007f, or stalls at the same percentage every time. - Use the ISO + setup.exe method for maximum control, or when upgrading multiple PCs from one download.
All three are official Microsoft tools. There's no wrong choice — only the one that finishes on your PC.
Frequently Asked Questions
Why does the Windows 11 Installation Assistant keep failing?
The top causes: missing admin permissions, under 9 GB of free disk space, ineligible hardware, outdated Windows 10 (needs version 2004+), or third-party antivirus interference. If your Windows 11 upgrade failed outright rather than hanging, start with Fixes 2 and 4 — they resolve most cases.
What is error code 0x8007007f and how do I fix it?
Error 0x8007007f is a permissions-related failure. Fix it by running Windows11InstallationAssistant.exe as administrator, ensuring UAC isn't fully disabled, freeing disk space, and updating graphics drivers. Persistent cases respond to an SFC scan or switching to the Media Creation Tool.
What should I do if my Windows 11 Installation Assistant stuck at 99%?
First, wait — final stages can sit at high percentages for 30+ minutes on slow drives. If there's no disk activity for over an hour, it's truly stuck: close the assistant, delete C:\$WINDOWS.~BT and the contents of C:\Windows\SoftwareDistribution\Download, restart, and retry. Unstable internet is the usual cause.
Can I use the Installation Assistant on an ARM-based PC?
No — it only runs on x64 (Intel/AMD) processors and won't launch on ARM devices like Snapdragon-powered PCs. ARM users should use the Windows 11 ARM64 ISO or Windows Update instead.
How long should the Windows 11 Installation Assistant take?
Typically 30 minutes to 2 hours, depending on internet speed (it downloads ~5 GB) and drive speed. Beyond 3 hours with no progress, something is wrong — start back at Fix 1.
Can I keep using my PC while the Installation Assistant runs?
Yes, during the download and early phases — but everything runs slower. Avoid gaming or video editing, and never shut down mid-upgrade: interrupted installs cause the corrupted files behind future failures.
Final Thoughts
A Windows 11 Installation Assistant not working is annoying but highly solvable. For most people the fix is simple: run as administrator (Fix 2) or free up disk space (Fix 4). The deeper fixes are there for stubborn cases.
And remember — the assistant is just one of three official doors into Windows 11.
Once upgraded and Windows feels sluggish, see our guide on fixing Windows 11 slowdowns after an update — and comment below telling us which fix worked for you.
